Properties - Input Field Options
Options settings are used in Vizlib Writeback Table when you have a data type that supports choosing an answer from a selection of possible values.
You'll see Options appear when you select the Dropdown, Icon, Flag, Radiobutton and Multiple Choice data types in the Data panel. Dropdown, Icon and Flag currently support a maximum of 10,000 rows.
Note: When you click a column in the writeback table in edit mode, you'll open the column properties in the property panel.
This topic contains the following sections:
Define Options
The Define Options slider lets you choose how you add or edit data. Figures 1 and 2 show a dropdown data type.
Define Options allows you to add, edit or delete functions.
-
Type on Label to enter a Label name
-
Enter a Value expression by opening the Qlik Sense editor.
-
Select the Default value check box, if required.
-
Use the arrow above the Label box to show or hide each option field.
-
Click on Add Option to save the field properties and add another.
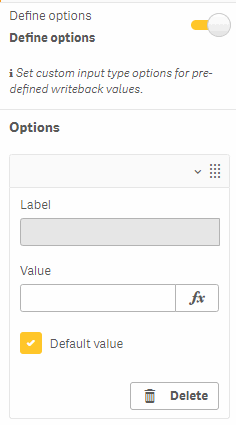
Figure 1: Define Options
Options Field
If you select the Use Field setting, you'll use the Options Field to define the data type properties. The Options Qlik Sense expressions, which can be added by clicking the  button and opening the Qlik Sense editor to define the field properties. (Figure 2). The options that are used in the Writeback Table/Input Form are the values from the data model field that corresponds to the Options Field property. Options will not be filtered by selections in the application.
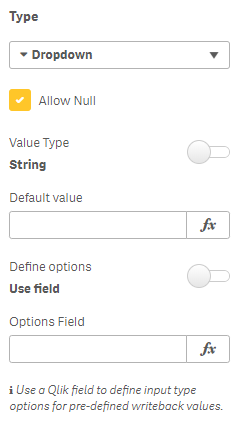
Figure 2: Options Field
A good practice is to name the options field in the data model starting with the dimension name with a _vzb_options suffix, so Icon options would be named Icons_vzb_options.
When the dimension is added, Vizlib Writeback Table/Input Form will detect that it's an options field associated with the dimension and set the Options Field accordingly. When using Options Field, options are limited to 10,000 values.
Options Field Syntax
Option fields support different syntax for labels and values (Figure 3).
-
Default - the value is set to both value and label of the option.
-
Dual - the numeric value is set to the value of the option and the text value is set to the label.
-
Delimited semicolon - the value before the semicolon is set to the value of the option, the value after the semicolon is set to the label of the option.

Figure 3: Example Options Field script
Icon options have additional syntax to set the color and the icon. The label should include a <color> tag and an <icon> tag. The values after the tags will be set to the color and the icon value of the option (Figure 4).

Figure 4: Icon example Options Field script
Flag options have additional syntax to set the iso alpha2 value of the option. The label should include an <iso> tag. The value after the iso tag will be set to the iso alpha2 value of the option (Figure 5).

Figure 5: Flag example Options Field script
Dropdown
The dropdown data type lets you build or import a list of values, with the user selecting one. The selected value is then displayed in the table.
-
Select Allow Null if you want to include a null option.
-
Select the dropdown value type (String or Numeric).
-
Use the Default value expression editor to add a default value if you need one.
-
Select the Options type you'd like to use.
-
Add or edit your dropdown values.
Once you've added your dropdown options, they'll be displayed in the table view, The example we've used in Figure 6 shows a dropdown with three values (US, GB and DE).
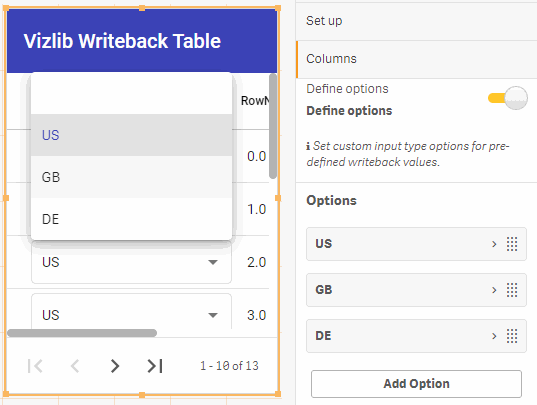
Figure 6: Dropdown
Icon
The icon data type is displayed in a dropdown list, with a symbol beside each option. One option can be selected at any time, and null values are allowed.
-
Select the Label, Value and Default value.
-
Select an icon Color, and then click on the Global Icon button to display the list of shapes. Shapes and colors can be defined for each separate field.
You can see an example in Figure 7, with the Adequate Service list option from the Service Level column displaying a different icon shape.
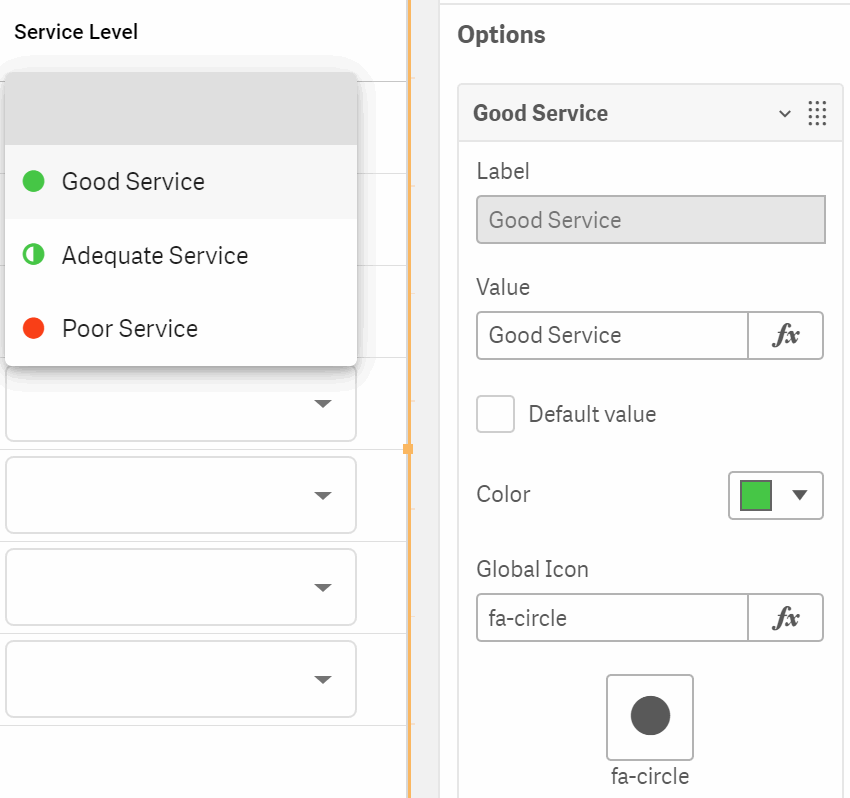
Figure 7: Icon
To add icon option properties with the Options field (Figure 8), click on the  button in Options Field to open the editor.
You can also select a Fallback Icon (a default Icon for any options in the column) by adding an expression using the editor, or clicking on the button under the Fallback Icon field.
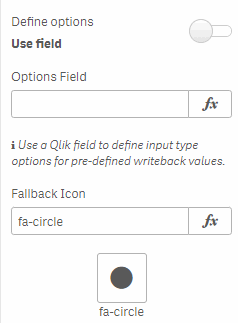
Figure 8: Icon Options Field
Flag
The flag data type uses a dropdown, and displays a country's flag and the corresponding country code. Null values are allowed.
Figure 9 shows a list of flag values created using the Country dimension from the source data available to the Writeback table. You can see the linked value Country_vzb_options specified in the Options Field, which defines the flag and the name of the country. If Define Options is selected, the list disappears, and an error is returned.
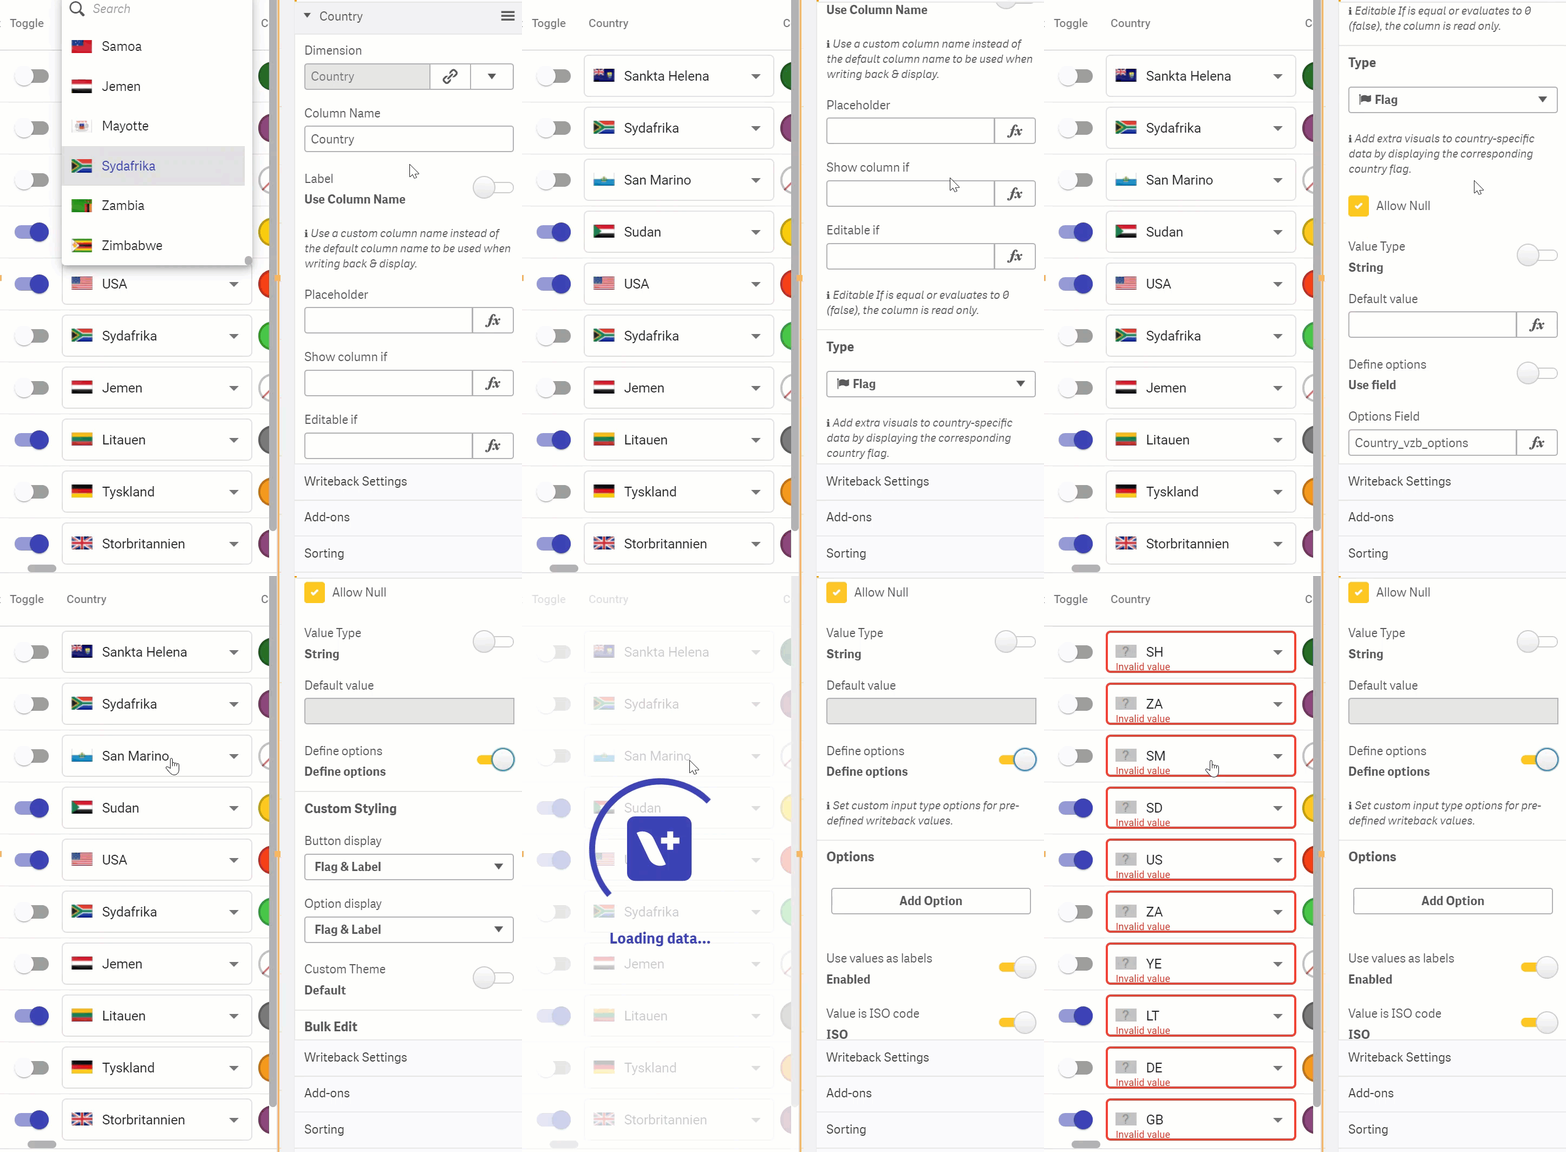
Figure 9: Flag Options Field
If you manually add a country code in the property panel, the error clears and the flag will be displayed again, but as it's no longer linked to Country_vzb_options, it will be the only value in the list (Figure 10).
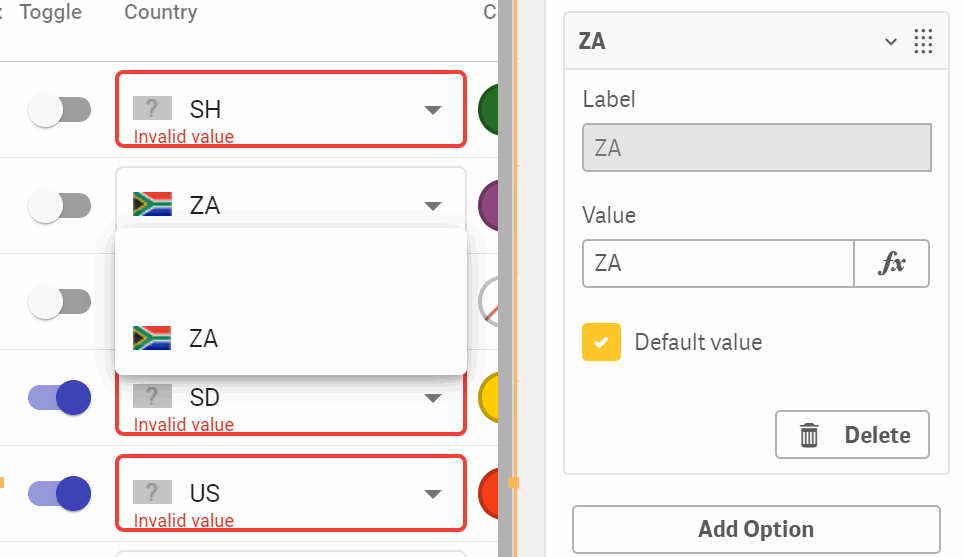
Figure 10: Flag Define Options
Radiobutton
The radiobutton data type lists several options, using a button to display the selected value, which can include null. Figure 11 shows a list of two fields (Yes and No) to answer the question Inspection Required?
When Define Options is used, you can add list items by clicking on the Add Option button, and entering an item Value.
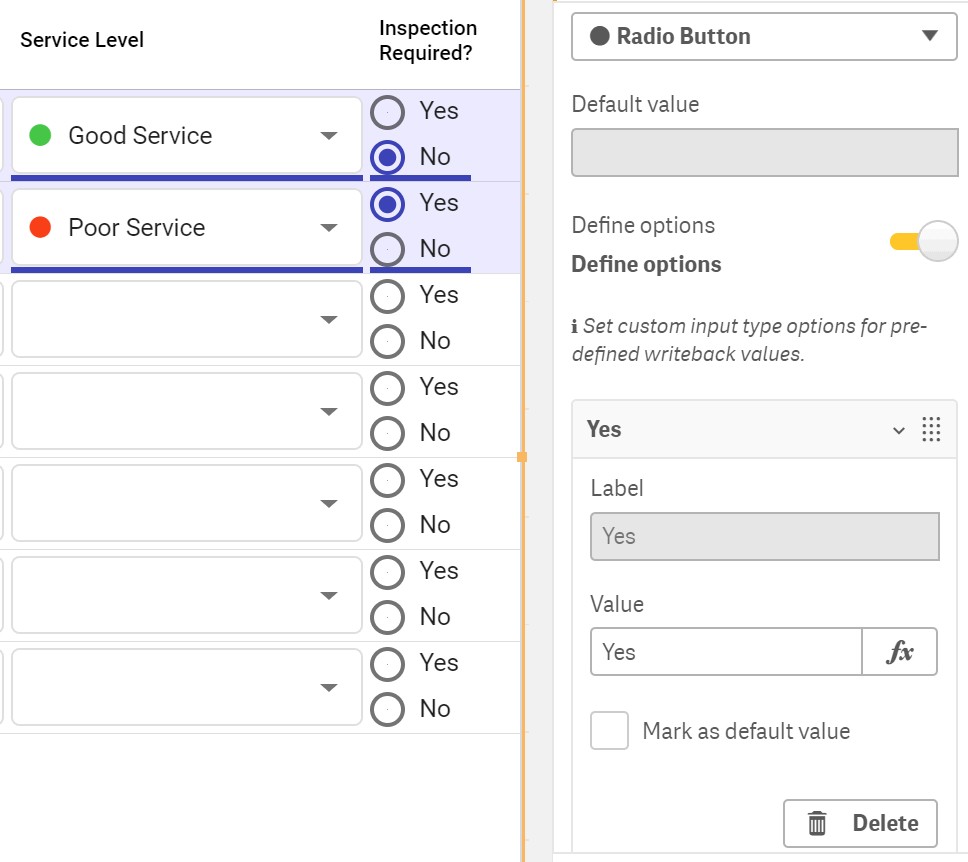
Figure 11: Radiobutton Define Options
To add radiobutton data with the Options Field, click on the  button to add an expression using the Qlik Sense Editor (Figure 12).
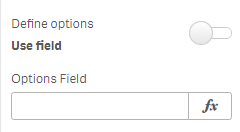
Figure 12: Radiobutton Options Field
Multiple Choice
The multiple choice data type also presents a list of options, but more than one option can be selected at any one time. Figure 13 shows a list of three multiple choice fields, showing the names of the Inspection Team if an inspection is required.
When Define Options is used, you can add multiple choice items by clicking on the Add Option button, and entering an item Value.
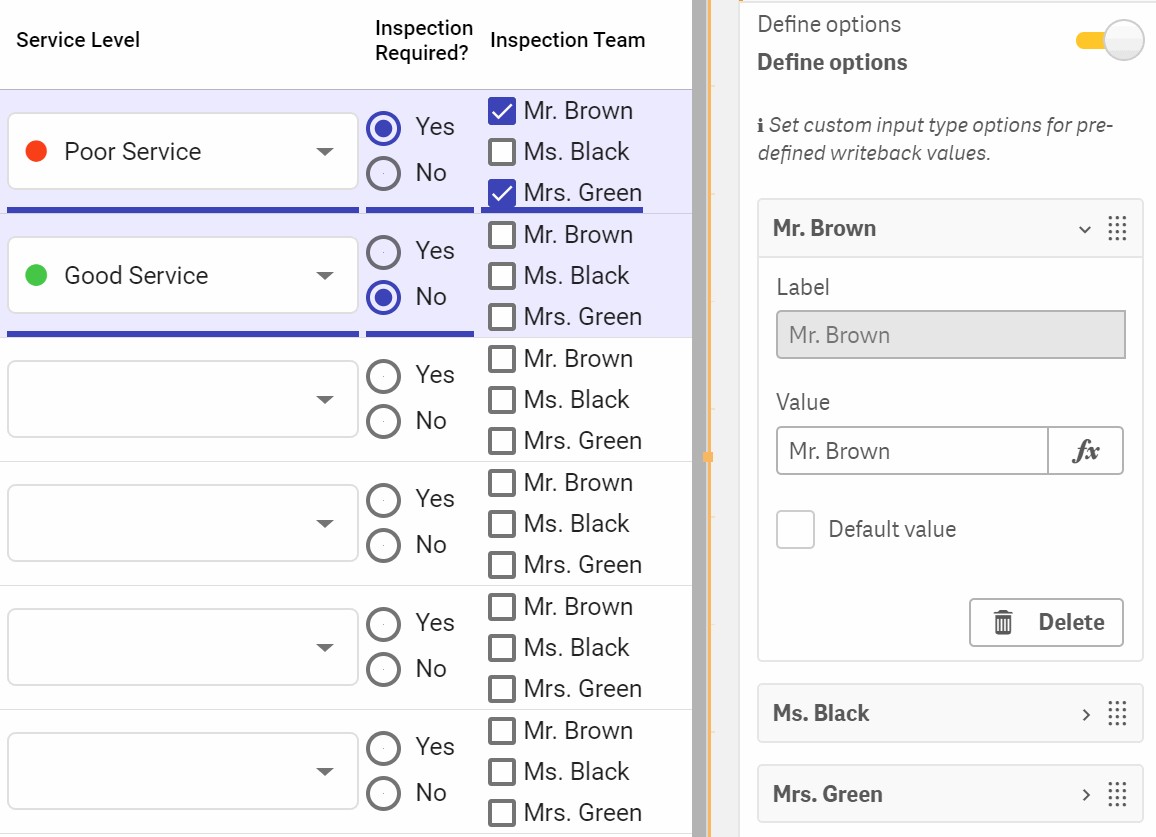
Figure 13: Multiple Choice Define Options
To add multiple choice data with the Options Field, click on the  button to add an expression using the Qlik Sense Editor (Figure 14).
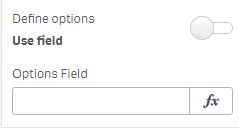
Figure 14: Multiple Choice Options Field
Custom Options Sorting
The settings for Custom Options Sorting control the display order for the values in the options field for Dropdown, Flag and Icon data types. If you disable Custom Options Sorting (Figure 15), the default order will be taken from the row number. You can Sort by expression and choose Ascending or Descending order, Sort numerically or Sort alphabetically.
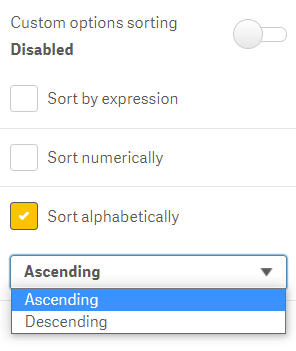
Figure 15: Custom Options Sorting Disabled
Figure 16 shows an example writeback table with Sort alphabetically in Ascending order selected.
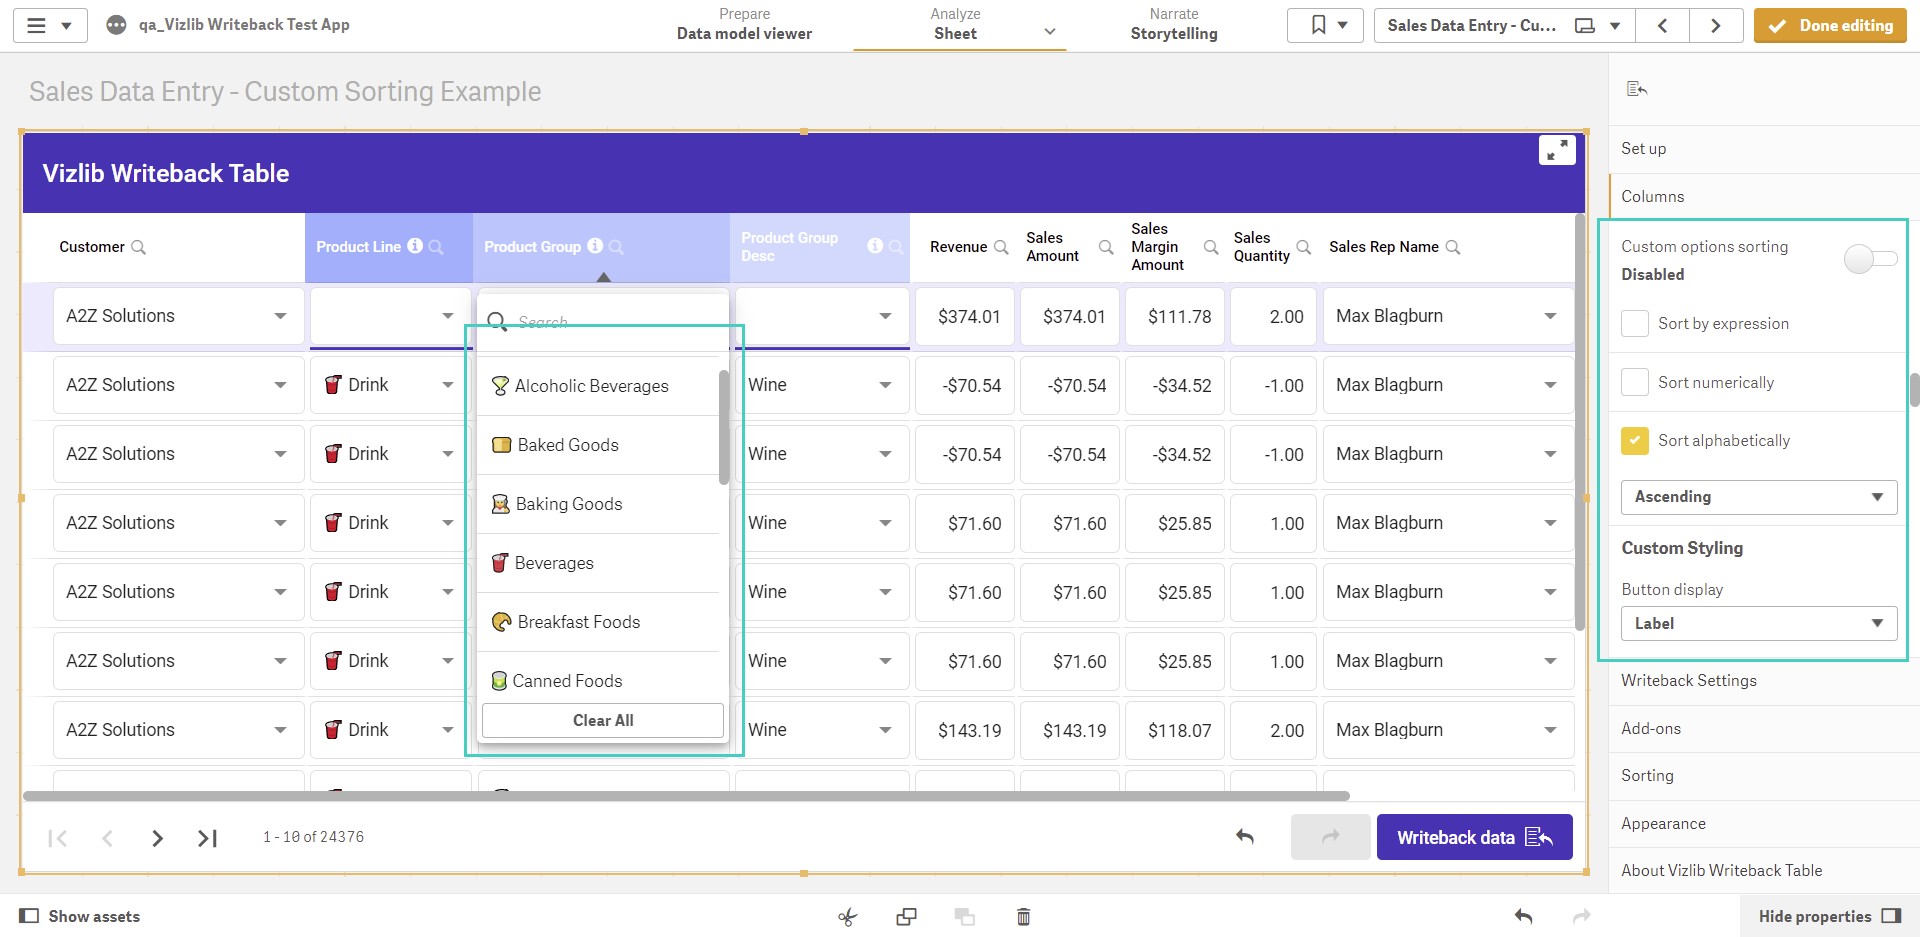
Figure 16: Custom Options Sorting Example
If you enable the setting (Figure 17), you can Sort options by Value or Label, and set the Sort options order to Asc (Ascending) or Desc (Descending). When enabled, data is displayed in the existing order used in the Qlik Sense Hub.
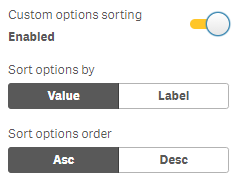
Figure 17: Custom Options Sorting Enabled