Properties - Grouping Dimensions and Measures
As of version 3.4.0, it is possible to group dimensions and measures by using master item tags. For larger data sets, this provides a way of structuring the data and make it easier for the users to find what they are looking for.
Important: For performance reasons still consider dividing your data in multiple data sets so that they are "safe" even when users select many dimensions and measures. You can find out more about performance in Vizlib Custom Report here.
This topic contains the following sections:
Setup
Make sure your data set uses Master Items for all Dimensions and Measures. All dimensions and measures you want to group have to look like this with the link icon active and dimension grayed out (Figure 1).
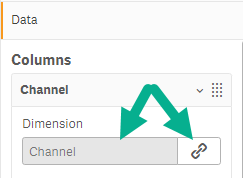
Figure 1: Master Item
Any Dimensions and Measures that are not Master Items will be listed as Uncategorized.
Add tags to the Master Items you want to group (Figure 2).
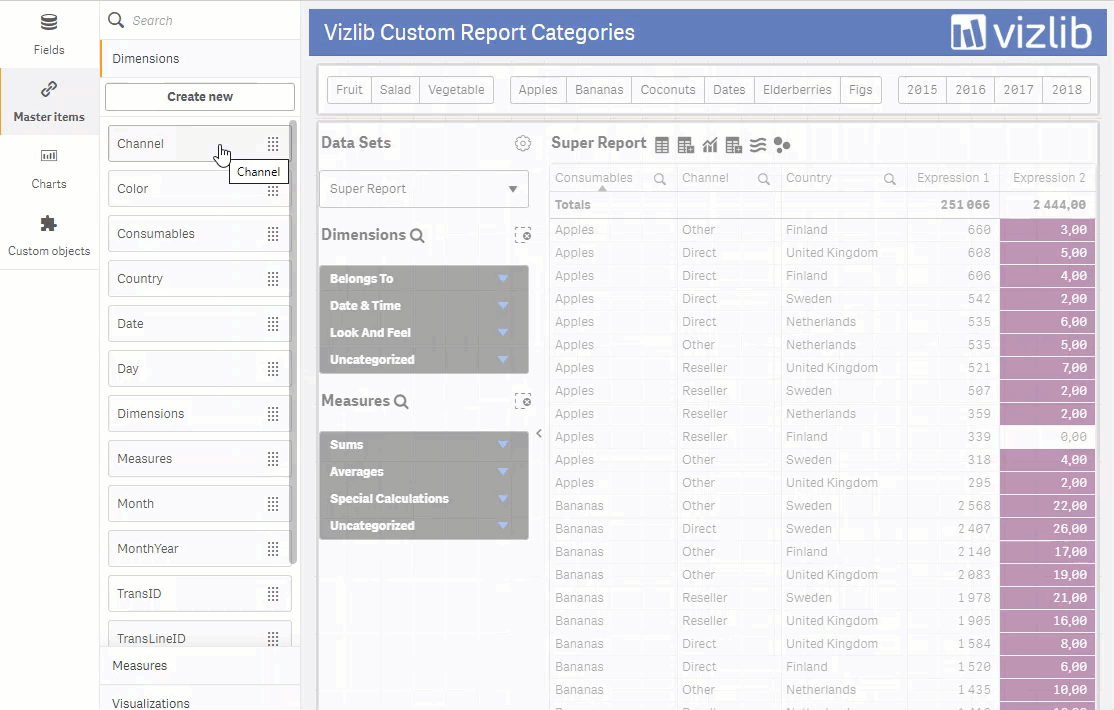
Figure 2: Adding tags to Master Items
Enable groups in your Custom Report Data Set(s) (Figure 3).
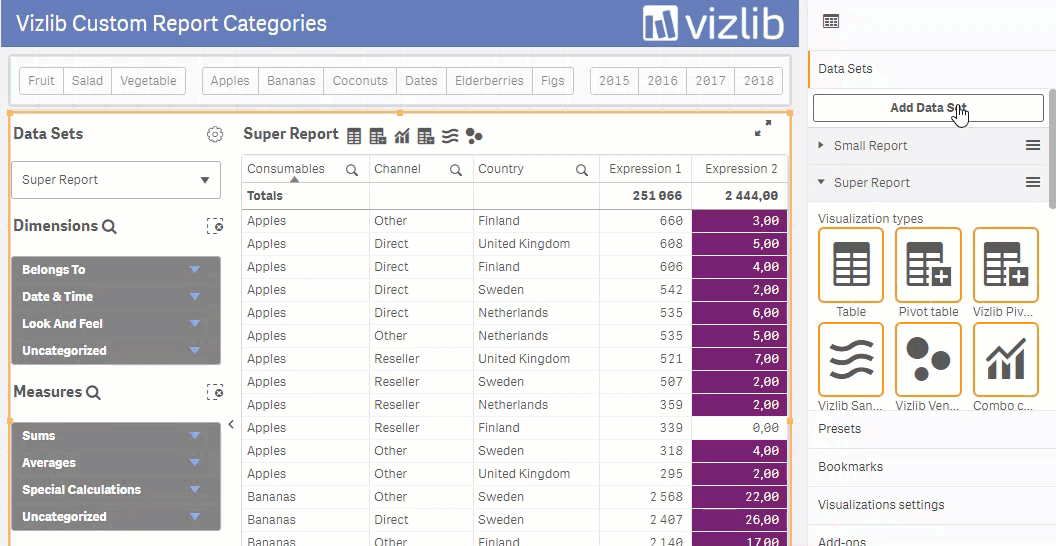
Figure 3: Enabling groups
Changing the Prefix
The default prefix is cr_group_ (Figure 4). Any prefix can be used but be sure to choose prefixes that don't clash with each other. For example, using both Group and Group2 is not a great idea since the tag Group2 will be interpreted as the group name 2 for the Group prefix.
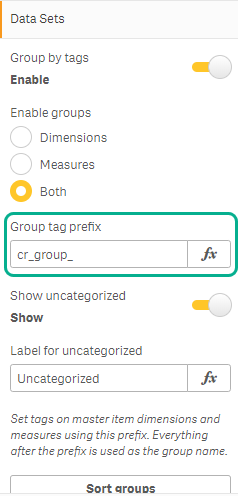
Figure 4: Group tag prefix
If the prefix is left blank, the Custom Report will pick up all tags and use them as groups. This might come in handy for applications where no other tags are used on the Master Items.
Uncategorized Dimensions and Measures
It is possible to select any Uncategorized Dimensions and Measures not to be shown in the Custom Report (Figure 5). This also allows developers to use the same data set in multiple Custom Report setups.
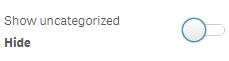
Figure 5: Show/Hide uncategorized
Alternatively, all Dimensions and Measures can be picked up and then any master items with tags NOT matching the prefix will be put in the group for Uncategorized. The label for this group can be changed using text or an expression (Figure 6).
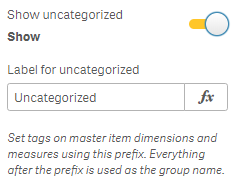
Figure 6: Label for uncategorized
Sorting Groups
All groups that have been added can be sorted in any order you like. Simply click the Sort Groups button to open the group sort wizard (Figure 7).
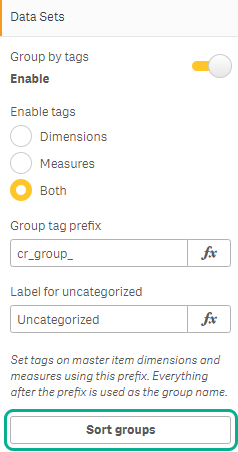
Figure 7: Sort Groups
Drag and drop values to sort the dimensions and/or measures in the group (Figure 8).
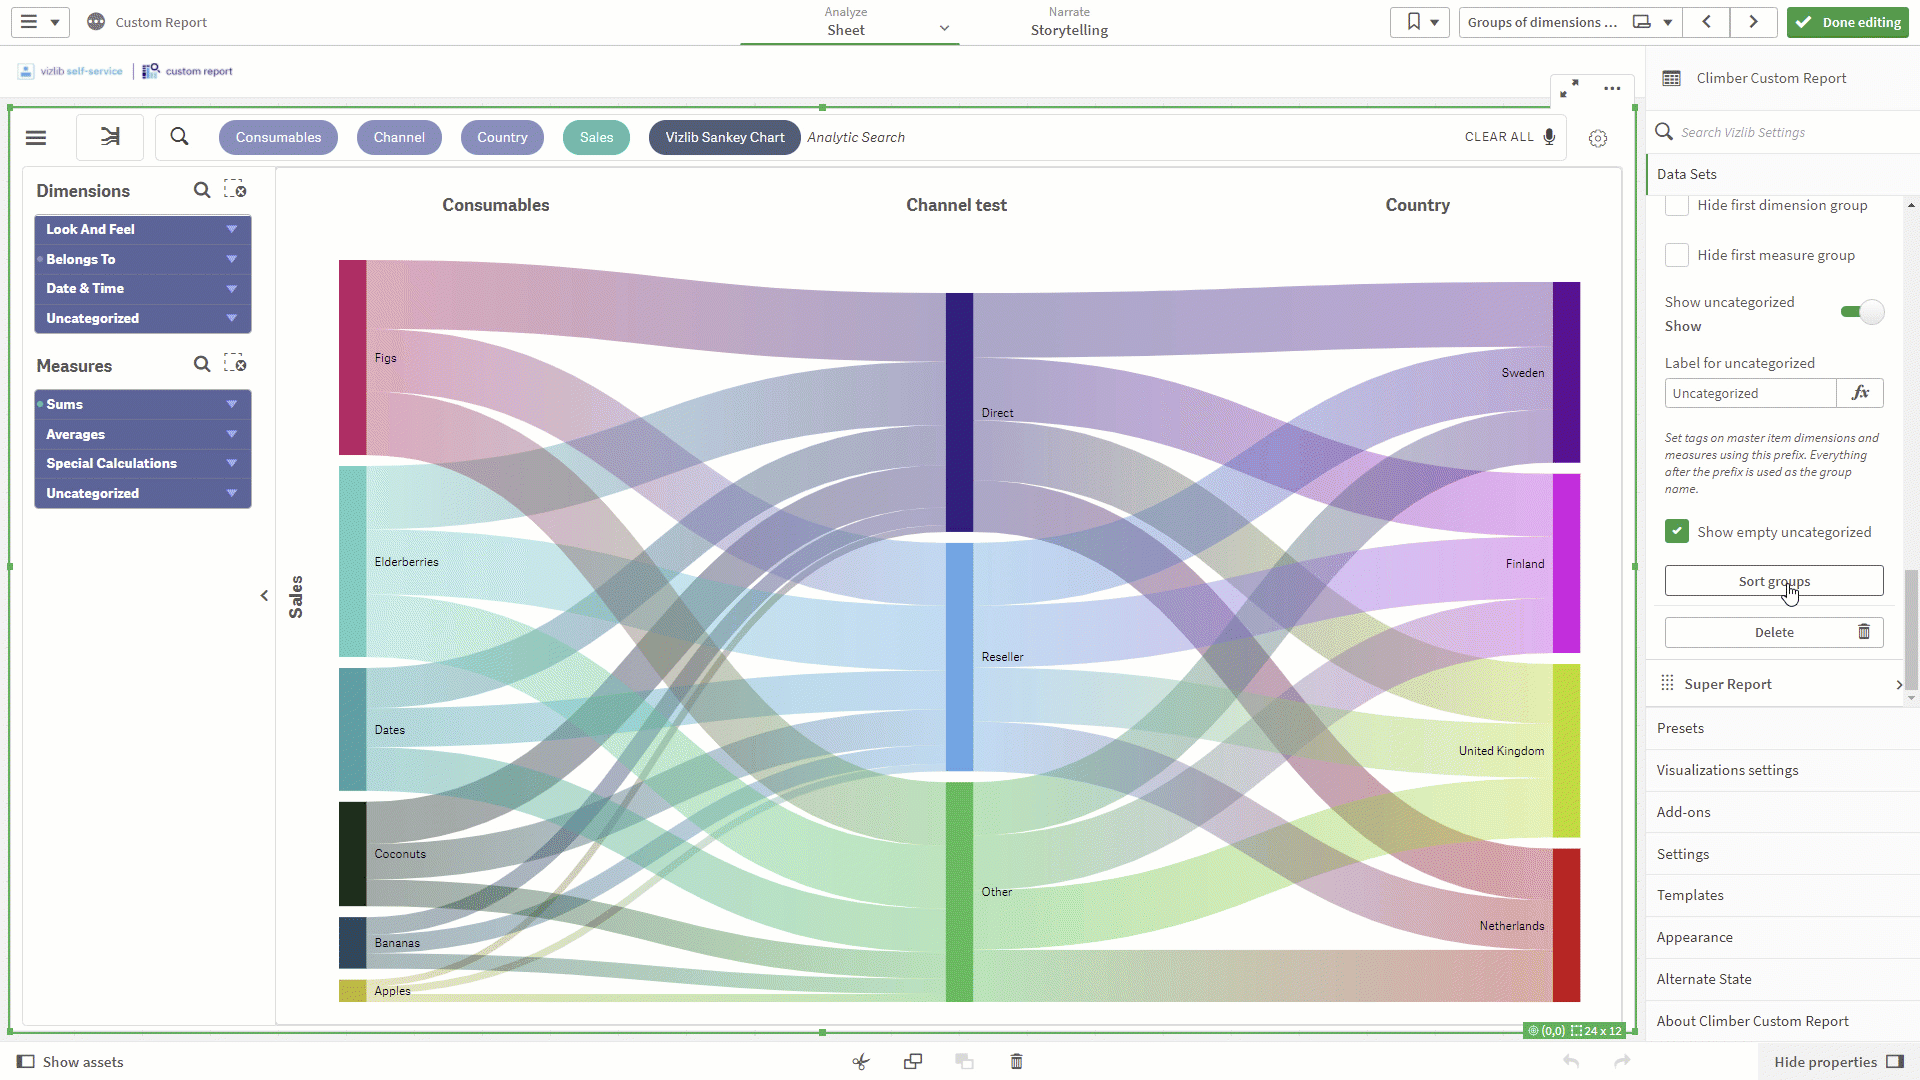
Figure 8: Group Sort Wizard
Styling Options
Settings for styling are available in the sub-sections Groups dimension menu and Groups measure menu (Figure 9). Settings include selections for text and background color as well as sizing options.
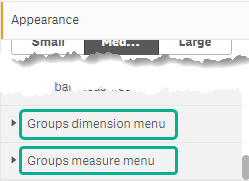
Figure 9: Groups Menu
Note that it is possible to indent the Dimensions and Measures (Figure 10). This setting is made in the Dimension and Measure menu settings respectively.
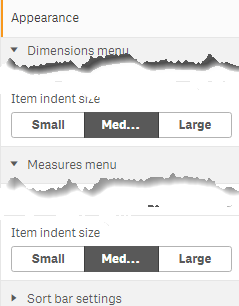
Figure 10: Indentation of Measures
Hiding First Group Label
To allow the most important selections to be listed first, without at label, it is possible to hide the first label for both Dimensions and Measures. Simply click the appropriate check box and the first group will be hidden, regardless of which one it is (Figure 11).
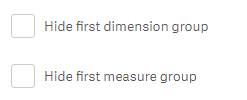
Figure 11: Hiding Groups
Note: Use this option for a maximum of dimensions or measures that are used more often than others. Do not use it for a large number of items since the groups will then typically be hidden further below in the list and will be hard to find. It can also be used to list all uncategorized items first (Figure 12).
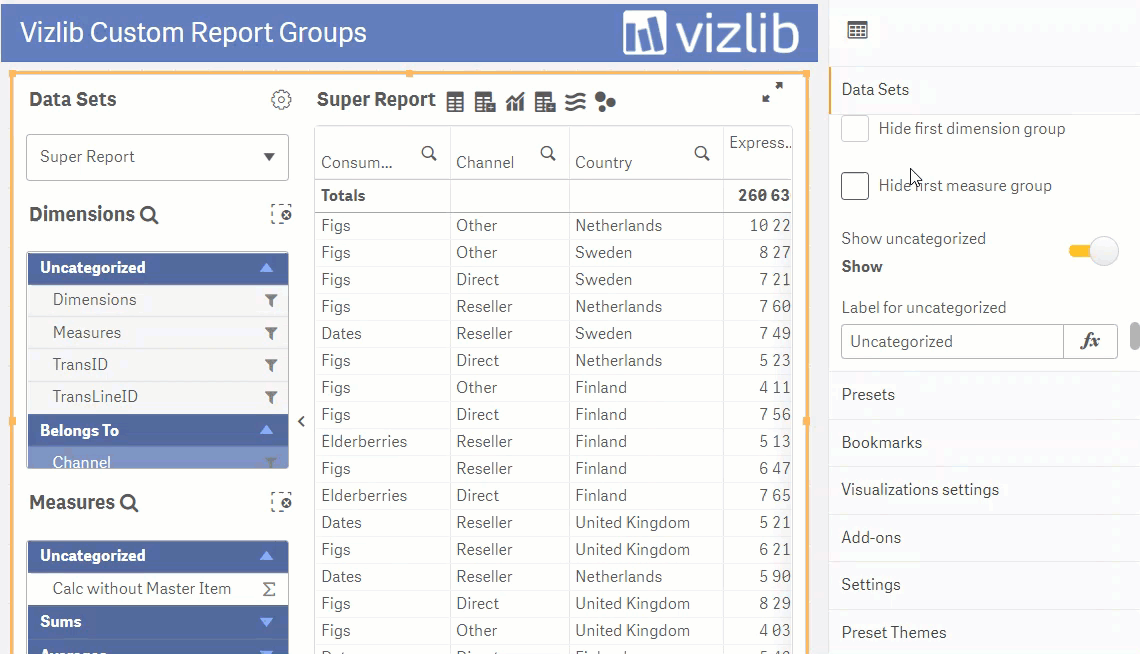
Figure 12: Hiding Groups
Selections for Groups
If you've selected a group item, you'll see an indicator next to it (Figure 13), which will make it easier for the user to find selections that have been made.
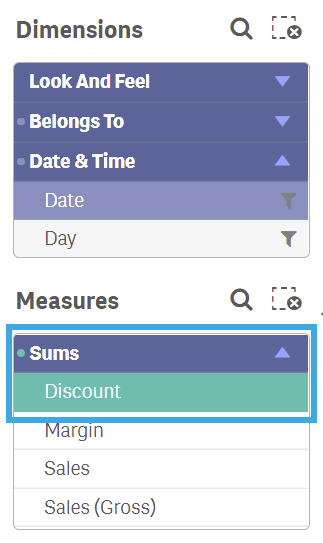
Figure 13: Selection Indicator