Properties - Input Field Options
The input field Options function is part of the Type panel in Vizlib Input Form and is used when you'd like to add a list of values. You'll see Options appear when you select the drop-down, icon, flag, radio button or multiple choice data types in the property panel. We're going to use a radio button as an example for this article, but Vizlib Input Form also shares a input fields reference article with Vizlib Writeback Table, which you can find here.
This topic contains the following sections:
Add Field
We're going to use a Sales Report example to demonstrate the Options function.
-
Click on the Add Field button underneath the layout wizard icon, and select Radio Button as the data type.
-
Click on the Field Name text box and change the name to Review Completed. You should see it displayed in the input form (Figure 1).
-
At this stage you can also add a Suffix to the field name, and add Qlik Sense expressions to define conditions on Show Column and making the field name Editable.
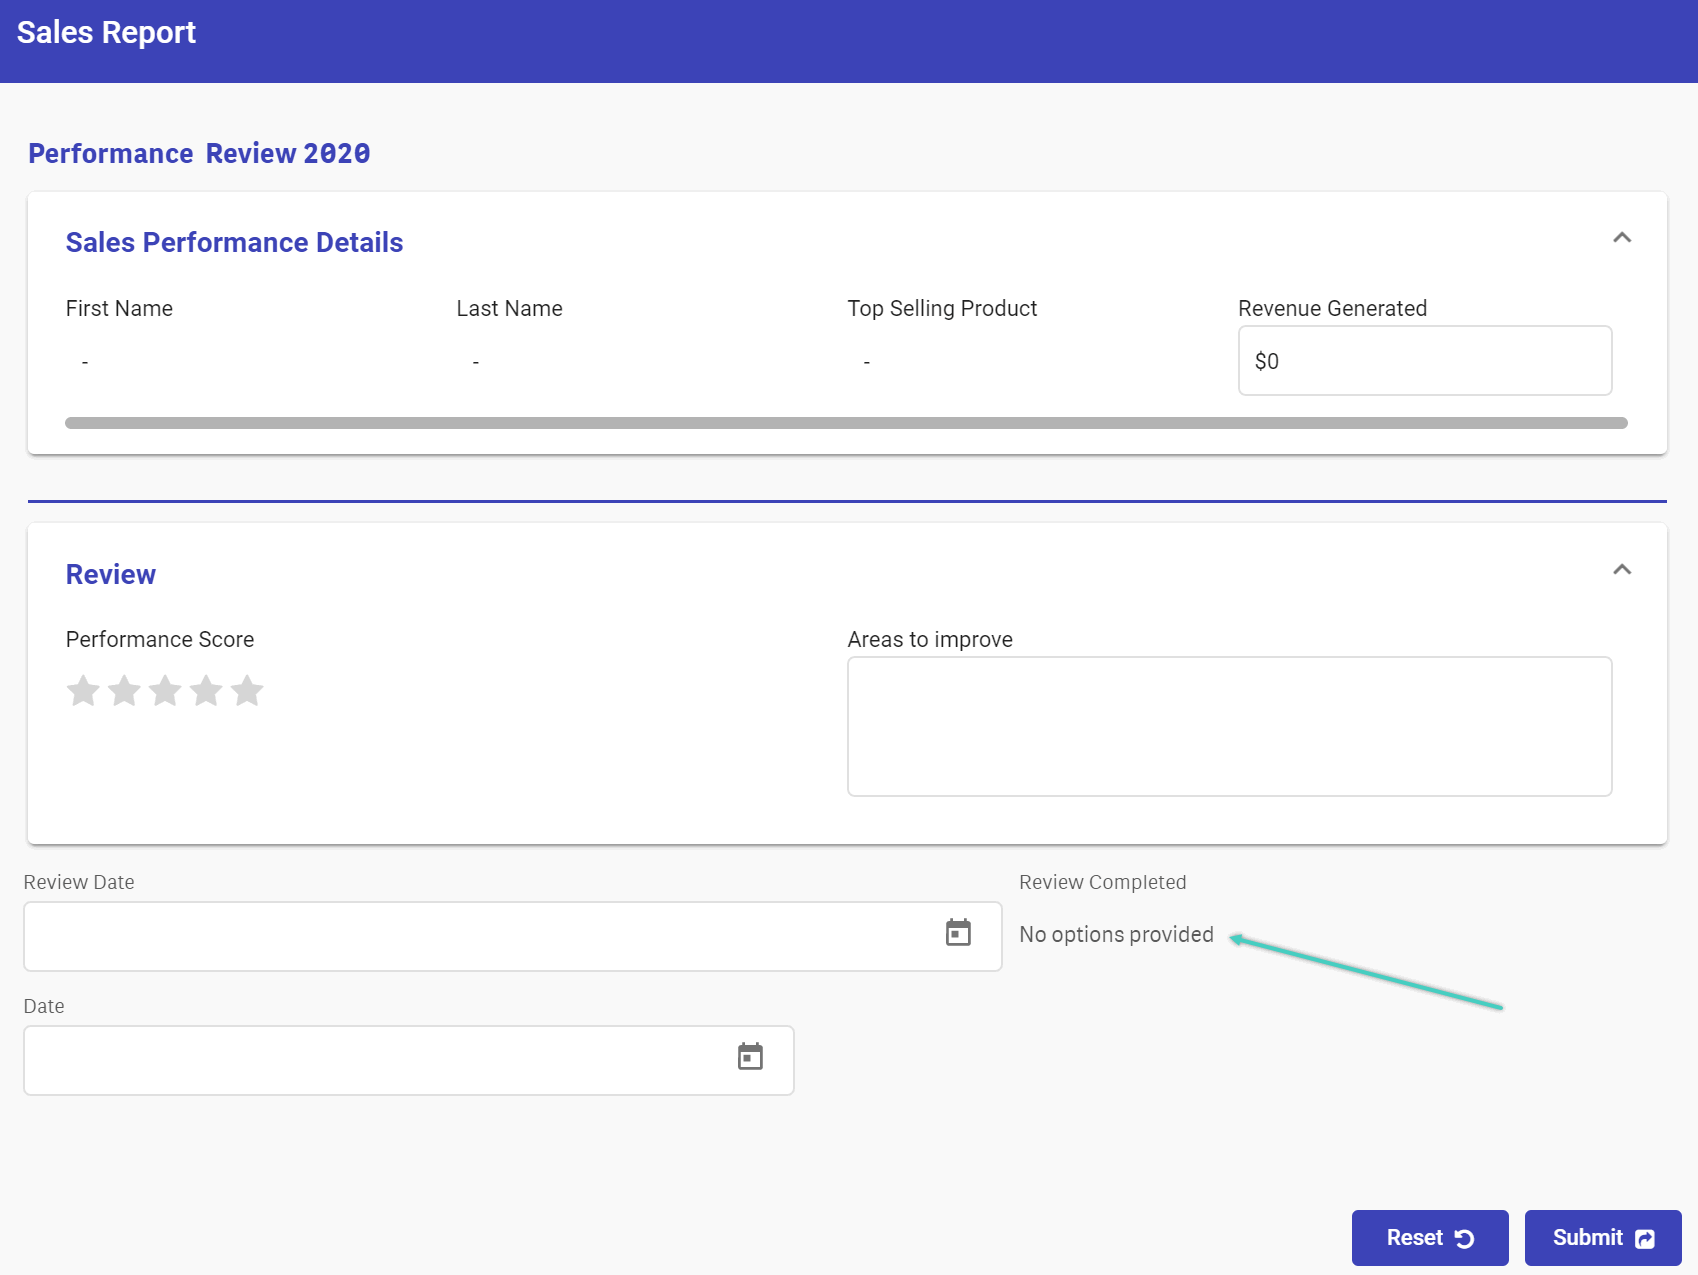
Figure 1: Adding Options
The next step is to add option fields to the radio button. The Define Options setting sits under the Type drop-down list, and you choose which method to use by sliding the toggle left or right.
-
Define Options is the default setting, where you add properties using the Options menu.
-
Options Field allows you to use Qlik Sense expressions to define properties.
We'll be using Define Options in this example.
Adding Options to an Input Field
-
Scroll to the Options menu, and click on Add Option (Figure 2).
-
Enter No in the Value field. It should display in the label name. You could also enter an expression here by clicking
 to open the Qlik Sense editor.
-
If you need to have custom values for your labels you can disable the Use values as labels setting.
-
Select the Default value check box, so the button is set to No.
-
Click on Add Option to save the field properties.
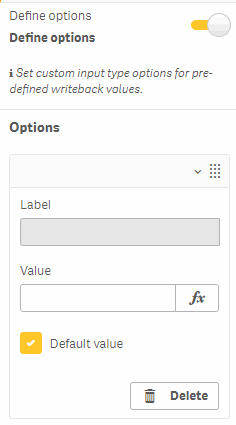
Figure 2: Define Options
Repeat the process above for a second field with the value Yes, and leave the Mark as default value option blank.
Options Field uses Qlik Sense expressions to define input field values (Figure 3).
-
Click on the function button
and open the Qlik Sense editor to define the field properties.
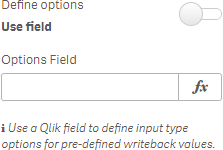
Figure 3: Options Field
Now we're finished adding the fields, you can see the radio button now has Yes/No options, with the default No (Figure 4).
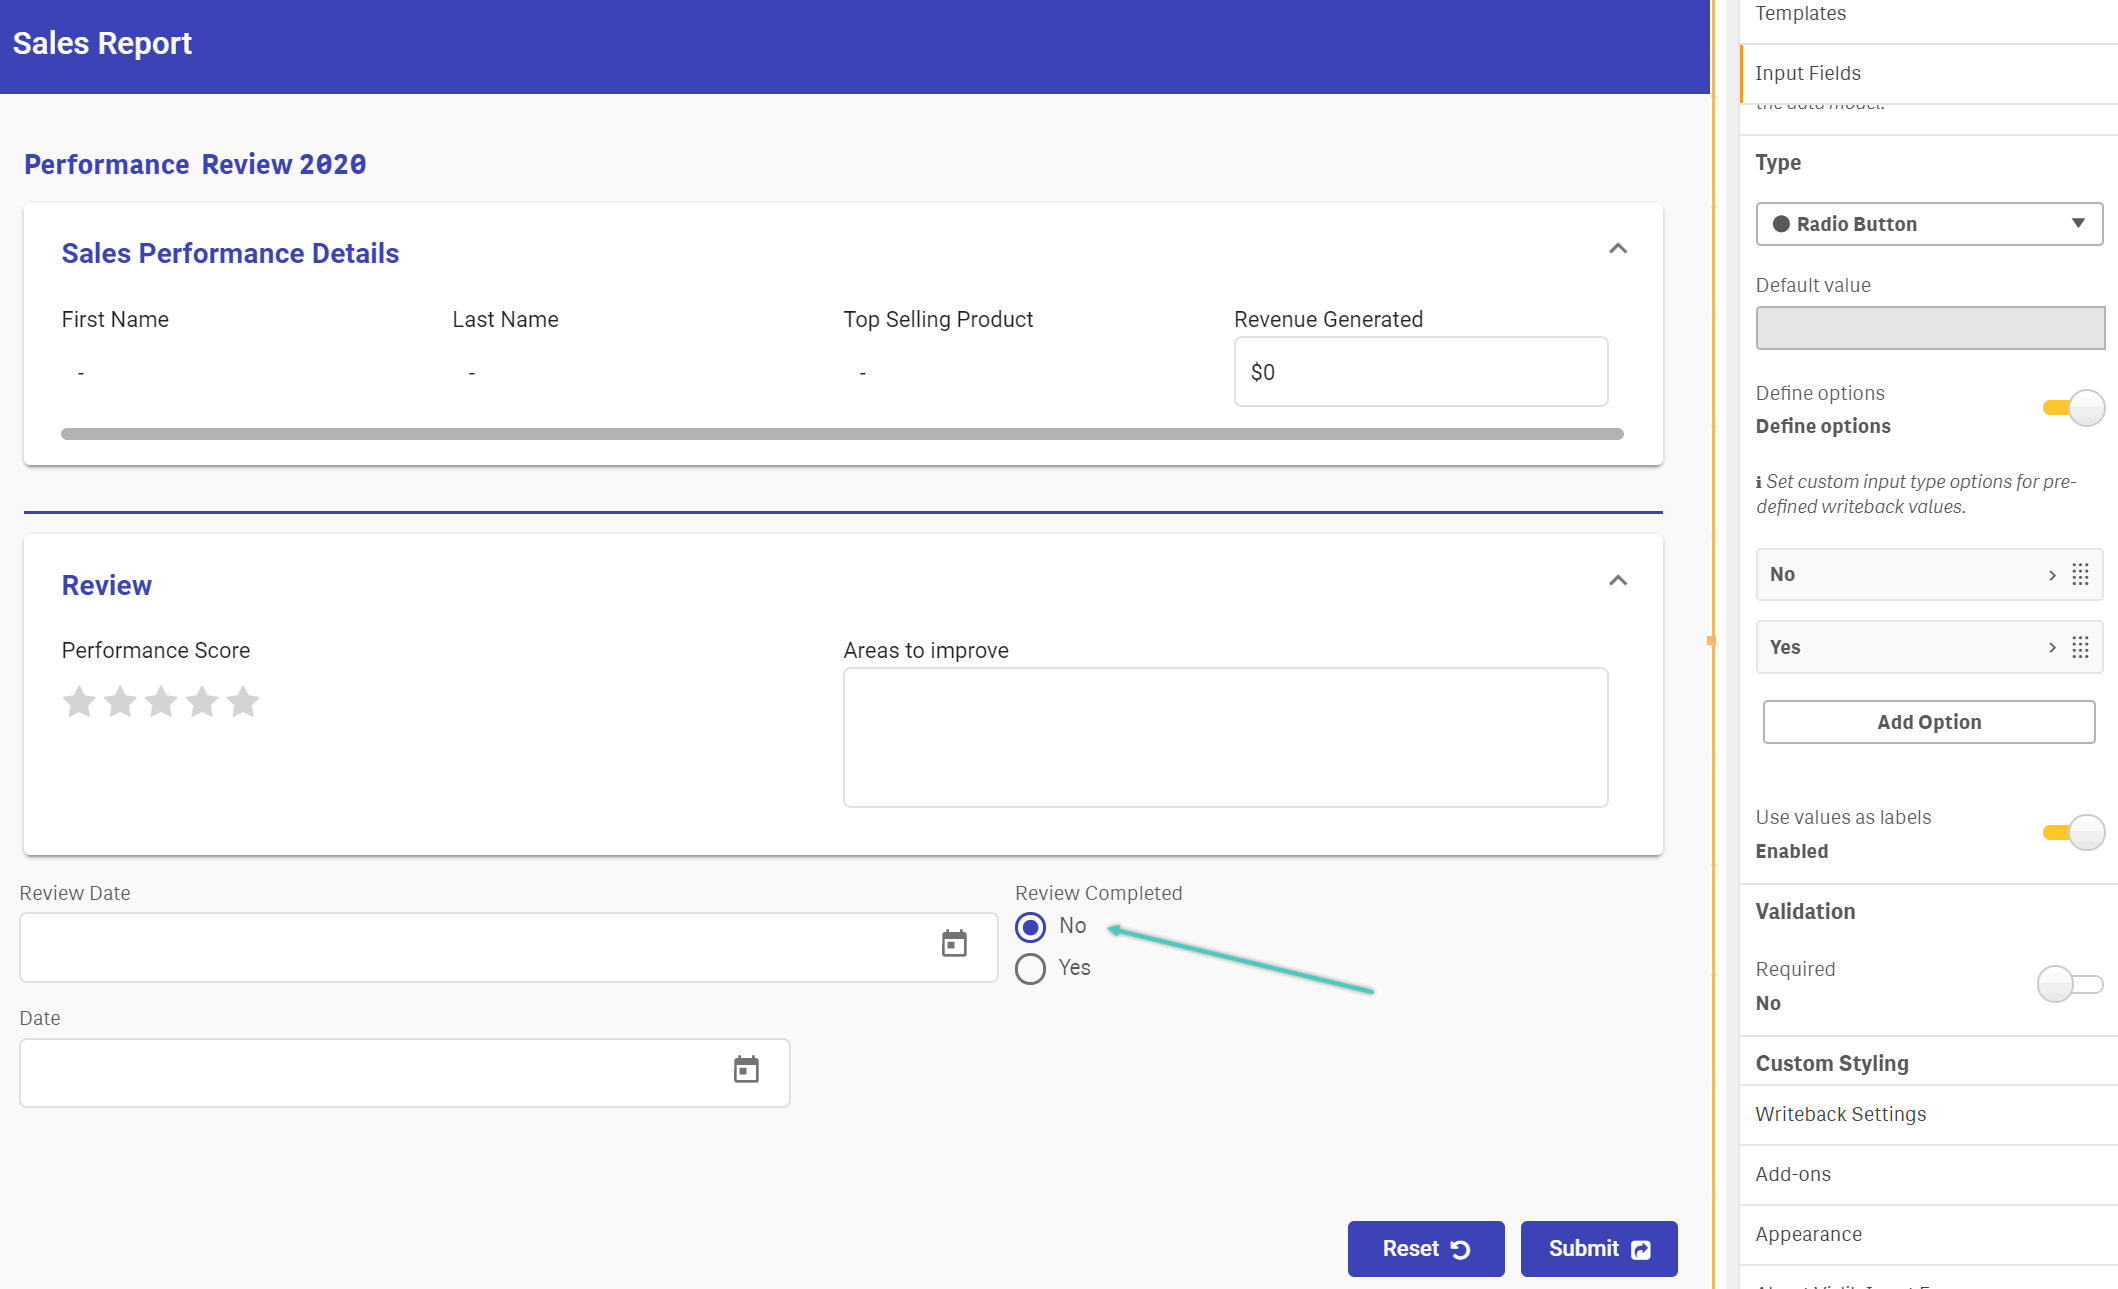
Figure 4: Options Added
Note: Field Length: Some use cases (such as questionnaires) may require several words or an entire sentence to be used as a label. In these cases, the label text should adapt to the size of the screen, by being wrapped within the form rather than having a single line.