Integration Setup - SQL
If you're using Vizlib Writeback Table with Vizlib Server, you'll need to set up and select an Integration to store your data and any changes you make. Integrations allow you to connect Vizlib products with your existing solutions (e.g. an email server or a database) to improve data sharing and collaboration. Integrations are configured in the Vizlib Management Console (VMC).
Vizlib Writeback Table can integrate with different data output types, and we're going to use SQL in this example. You can find a full list of supported products in the Introduction here.
This topic contains the following sections:
- Before you Start - Checklist
- Adding an Integration
- Adding a Destination
- Adding Writeback Settings
- Working with Vizlib Writeback Table - Data Load Updates
Before you Start - Checklist
Before you add an integration, make sure you have all the information and permissions you need. Work through all the items in this list and then you'll be ready to start.
-
Installations - Vizlib Writeback Table and Vizlib Server should be installed before you start. We have online tutorials for installing Vizlib Server and Vizlib Products to help you (Vizlib Products are all installed in the same way, so while the tutorial uses Vizlib Library, it can also be used for Vizlib Writeback Table).
Note: If you haven't installed any Vizlib products before, please install the product (Vizlib Writeback Table) then install Vizlib Server. If you have already installed Vizlib Server, please perform a restart after installing Vizlib Writeback Table.
- VMC login / Password - to create and configure the integration, writeback destination and check the audit trail. The VMC is installed as part of Vizlib Server.
- Database name, password, host name, port number - to enter when you're adding the integration. Table name - to configure the destination type.
- App name - the app you want to connect to the destination type.
- Writeback Operation and Reload Option - to configure Writeback settings for the destination.
- Security Rule - to set up secure access for a destination, a security rule should be configured in the VMC. See our article here for more information on setting up a security rule.
Adding an Integration
The first step to connecting is to add or configure an integration.
- Log in to the VMC. You should see the dashboard, with all your current integrations listed in the top left panel. The symbol
 indicates a successful setup, and
  indicates a setup error.
 - Go to System Settings > Integrations to open the Integrations homepage.
- Click Add Integration to open the pop-up screen.
- Select sql as the Type, select a database Dialect for your connection and pick a unique Id. This will be displayed in Vizlib Writeback Table, so keep that in mind when you're creating it.
- In the SQL settings panel, use the Database, Username, Password, Host and Port (Protocol is currently optional) to enter values.
- The username and password you enter here is for your database connection. You won't be able to use your Windows username or password.
Check: Your integration should display the green tick icon before going to the next step. If it's showing an error, follow the advice in the message.
Adding a Destination
Now, you'll need to add a Destination, which is the location where the data for your Writeback table is stored.
Note: By default, an auto-lock is triggered when a writeback operation is performed on a destination, and stays in place until the operation completes. You can enable the Allow Locking setting in Access and Security if you'd like to extend the locking function.
-
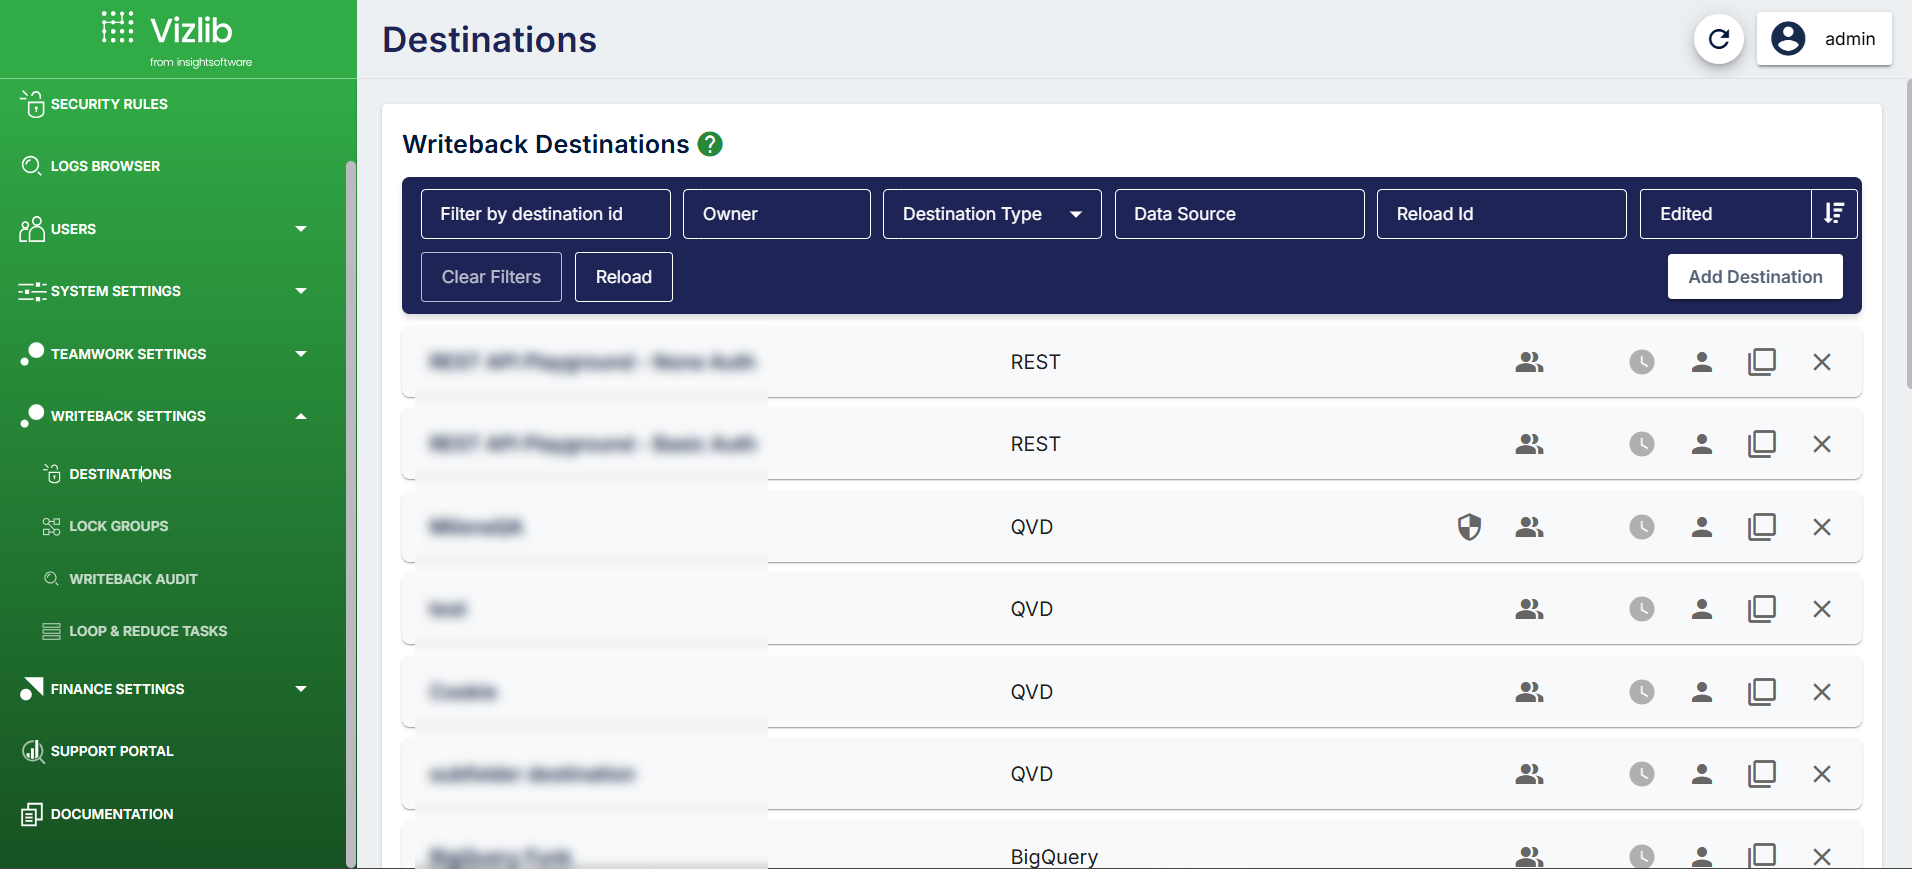
In the VMC menu, go to Writeback Settings > Destinations and Security. You should see the list of current destinations displayed on the page.
Figure 1: Destinations
-
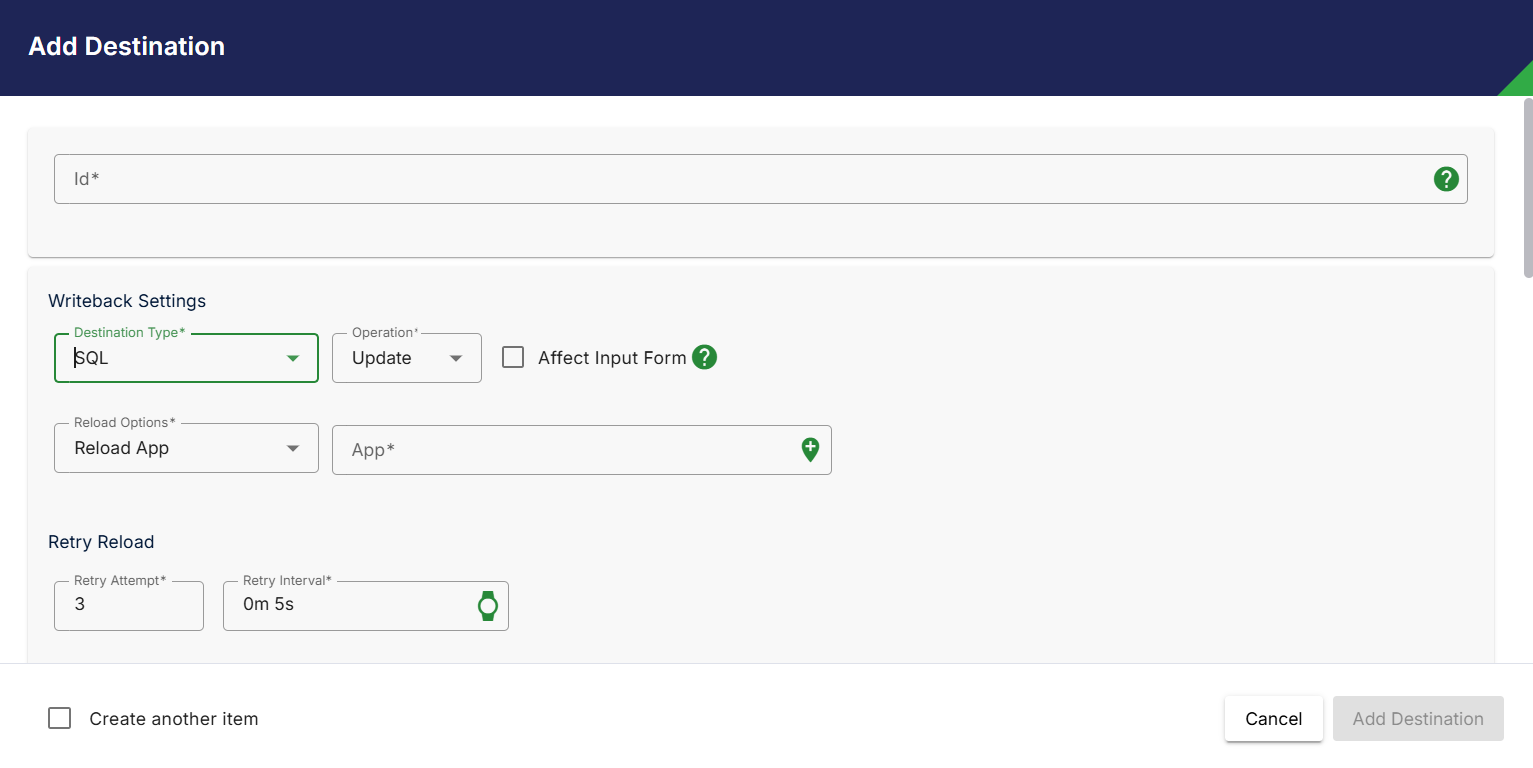
Click Add Destination and you'll create a new entry. Click on the destination ID to add your destination data. Your destination will already have an ID which is generated from the last entry in the table, but you'll be able to change this in the next step.
Figure 2: Adding a Destination
-
Enter a destination id, then go to the Writeback Settings panel and select SQL as the type.
Check: Destination ID has to be a unique value, or you won't be allowed to save your changes.
Now you can start to configure your destination. The Writeback Settings panel holds information about the level of functionality allowed in your Vizlib Writeback Table app.
- Select the writeback Operation (Insert, Update, and Delete). For more information on Writeback operations please see our article here.
- Choose one of the Reload Options (No Reload, Reload App, Partial Reload App, Reload Task).
- Check: Reloading the app means when data is written back to the destination it is immediately available to other users, so you'll probably have to pick an option which enables reload. You can find more information in our article here. Reload Task is set in the Qlik Management Console, you can find more information here.
- Add the writeback App you want to use. Apps are listed alphabetically with the App ID displayed. The app id is intended to make it easier for you to find an app you need to use, or one you've used before.
In the SQL Destination Settings panel, enter information about your data source:
Figure 3: SQL Destination Settings
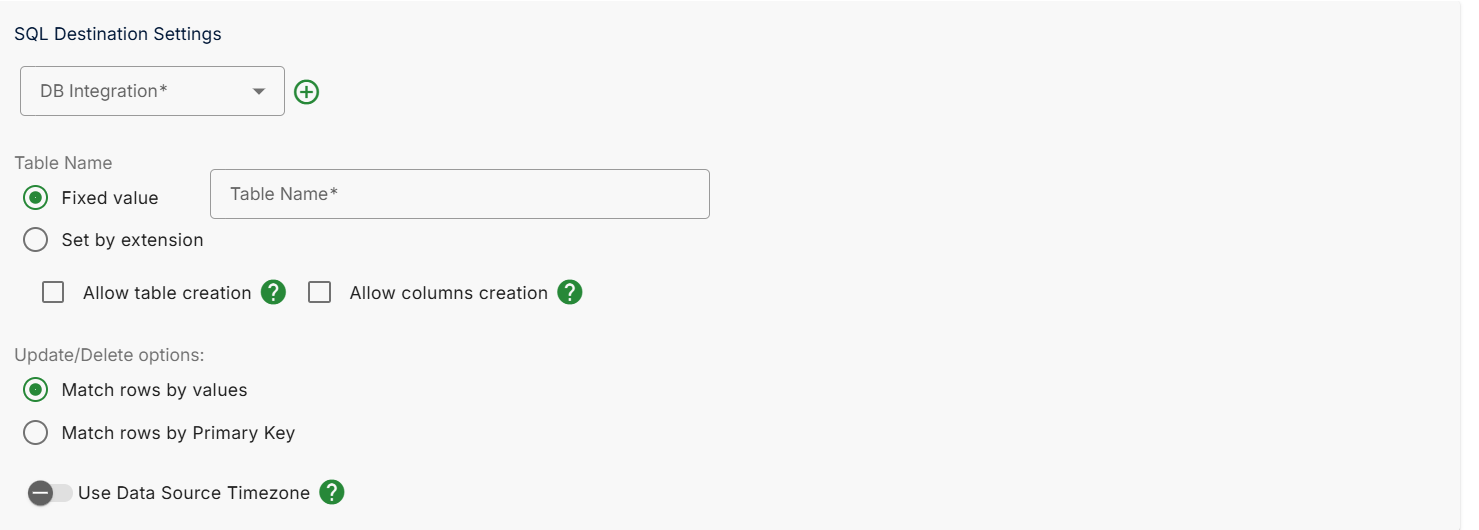
- Choose the integration you created from the list in Pick DB Integration.
- Enter the Schema and Table Name which will store your writeback data.
- Enable Allow table creation if you want users to create a table and copy it to the database.
- Check: Creating tables could change and disrupt the data model, so you should only activate this option if you really need it.
- Enable Allow columns creation if you want users create a column and copy it to the database. Any empty cells will be passed with a null value.
- Select one of the Update/Delete options, which handle the lookup function during Update or Delete writeback operations- Match rows by values references each column in the table, while Match rows by Primary Key references the primary key for each row. You can find out more about Update/Delete options here.
If you need to lock the data structure that's sent from your writeback table to your destination, you can do this in Fields Validation.
Writeback operations using this destination must contain exactly the same field names as defined here.
- Slide the toggle right to enable the setting, and click on Add Field to create a new entry.
- Add the Field Name used for updating the table. Check: The field name must match the writeback operation field name, or you'll return an error.
- Enable Allow Null if you want to pass null values to the table.
Vizlib Writeback Table has a default auto-lock function which is activated when a writeback operation is triggered. You can also use the Locking settings to extend the locking function for the destination. If you enable Allow Locking, the destination will lock when you start to input data, and unlock the table when you have finished When locking is enabled, an icon appears in Vizlib Writeback Table.
- Select Allow manual locking, then choose between Lock only the current destination, or Use Lock Group. You can find out more information on lock groups here.
- If you're using Insert as the writeback operation, you'll also be able to select Queue, which means updates will be "queued" and completed before the data is re-loaded. This option is helpful for managing updates from multiple users for a single destination. You can find out more information on queued writeback here.
If you need to restrict which users can work with the destination, you can do this with Access & Security settings.
-
Check Secure Destination to enable secure access if you need it.
Note: This setting is configured with a security rule to allow access to the destination, so users won't be granted access automatically if Secure Destination is enabled. You can find out more about security rules in our article here.
- You can choose to make the destination Public if you want other Content Admin users to be able to re-use it, or Private if you want to limit re-use to the creator (you), Admin and Root Admin users.
-
Enable Audit trail if you want to create an audit trail for the destination.
Note: You can access audit trails on the Writeback Audit page of the VMC, there are instructions on working with audit trails here, and you can also watch a step-by-step video tutorial on setting up an audit trail here.
- Click Add Destination to save your destination in the VMC.
Adding Writeback Settings
Now, you need to go to Vizlib Writeback Table and configure your app to write back to the destination.
You'll find these settings in the property panel under Destinations.
- Open your Qlik Sense Hub and find the Vizlib Writeback Table sheet you'd like to work with.
- Open the sheet in Edit mode, then go to Destinations in the property panel.
-
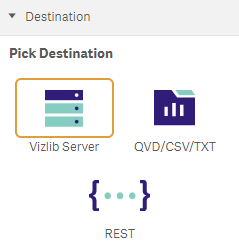
Click on Vizlib Server in Pick Destination.
Figure 4: Pick Destination
-
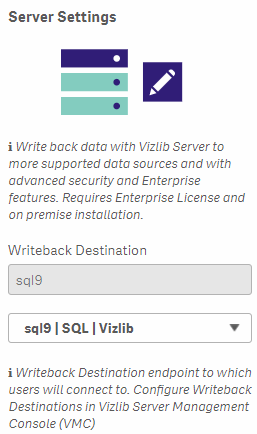
Select a Writeback Destination from the dropdown. This is where your data will be saved.
Note: SQL destination paths follow the structure Destination|Database Type|Table Name
So in the example here we're writing to the Vizlib table in an SQL database called sql9.
Figure 5: Server Settings
When you've completed the changes and saved them, you'll be able to write back to the destination you've configured.
Working with Vizlib Writeback Table - Data Load Updates
Now you've completed the setup, you will need to update your data load script to make sure data is loaded correctly back into the app. Otherwise, it will look like the operation isn't completing.
The data load script is part of the Qlik Sense environment, you can find out more about editing the data load script in a Qlik Sense app here.
Note: Use * to specify all columns in the table should be loaded. This is especially useful when you expect the content of the table to change (e.g. by adding new columns).
When you complete these steps, the table will be loaded back into the app correctly and you can start to use Vizlib Writeback Table.